Make the changes to the template according to your profile.
Below are the steps that you need to follow to host your website completely on google cloud on firebase.
Step1: Open command prompt if you are a windows user or terminal if you are on mac or linux and change the directory to your project folder, just by using cd command.

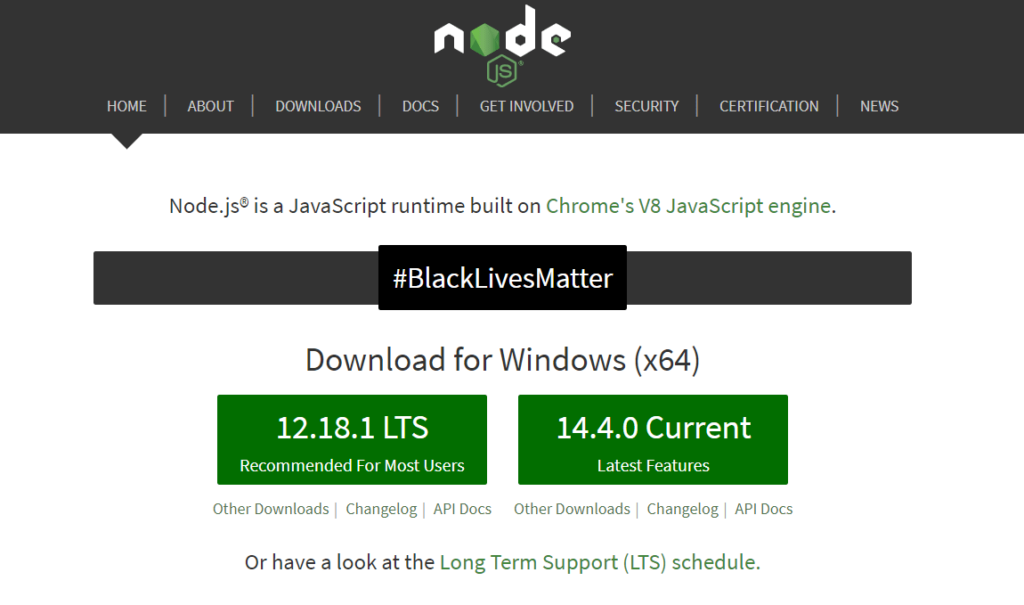
Step2: Next move, will be to install the firebase tools in your project directory. But before that make sure you have installed node on your system.
If you have not, Click on the link below and download your desired version, (lts version is always recommended.)

You can always test the running version of node and npm on your system by running:
node – v
npm – v

After you have finished downloading and installing node on your system, next all you have to do is to install the firebase tools in your project directory.
And you can do that by running a command line in command prompt in your project directory.
npm install -g firebase-tools
Step3: Now comes the most interesting part, where you will be actually hosting your website and giving them a number of other functionalities to your project. All you have to do is download the firebase cli for your os.
Run your cli application and you will see something like this

Step4: Login into google account which you want to use for running firebase.
Step5: Run firebase init command in your CLI
After running the firebase init command, you’ll see something like this.

Use your navigation keys to go down and space bar to select the feature and enter to confirm.
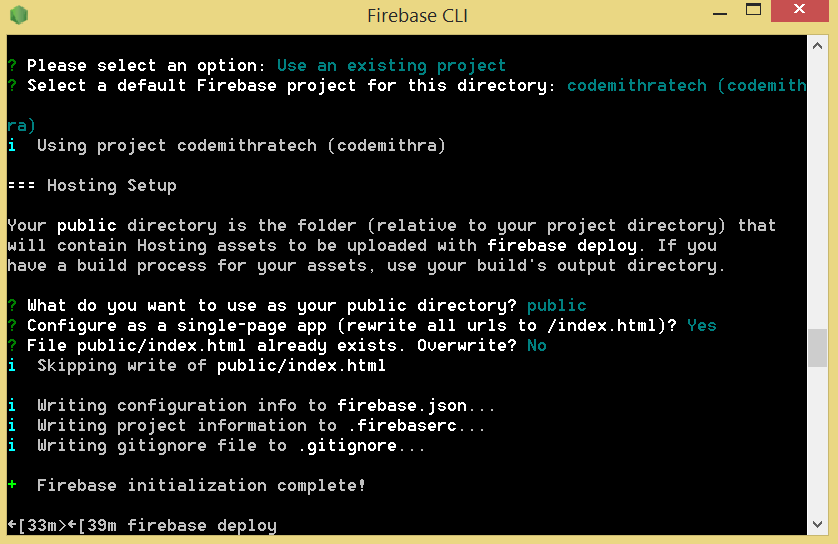
Go down to the hosting feature and hit enter to select and then finally you can create a new project or use the existing project to modify, if you have any.
Before that make sure that your project modules all of them are stored in a folder. After that provide your folder name in the firebase cli.

Next thing is creating a new project or use existing project.

Finally run the command firebase deploy to deploy your project.


Finally you have the link of your hosted project.


