
You automate a simple business process in Salesforce, before touching Apex, by building a screen flow in Flow Builder. Flow Builder is Salesforce's point-and-click automation canvas. This guide walks through one working example: a screen flow that logs a follow-up task. It uses only drag-and-drop elements, no code.
Flow Builder is Salesforce's visual tool for building automation. The canvas is the working area. You build a flow by adding elements to it and connecting them (Trailhead, Meet Flow Builder). As Salesforce puts it, "you no longer have to be a developer to create powerful automations in Salesforce" (Trailhead).
Why Flow Builder, why now
Salesforce no longer supports Workflow Rules and Process Builder, as of 31 December 2025. Automations built with either tool keep running. Salesforce no longer fixes bugs in them, and does not extend support to them. Its stated reason is to focus development on Flow Builder, its extensible, low-code automation tool. Salesforce recommends migrating existing automations to Flow Builder (Salesforce Help, Workflow Rules and Process Builder end of support). Checked against the official Salesforce Help article on 8 September 2026.
This makes Flow Builder more than one option among several. It is the current, supported starting point for new Salesforce automation. It is also the tool most new admins and developers meet first.
Salesforce also states that a record-triggered flow can update a record ten times faster than an equivalent Process Builder process. That figure comes from Salesforce's own comparison of the two tools. Treat it as vendor comparison language, not an independent benchmark (Trailhead, Get familiar with flow).
Anatomy of a flow
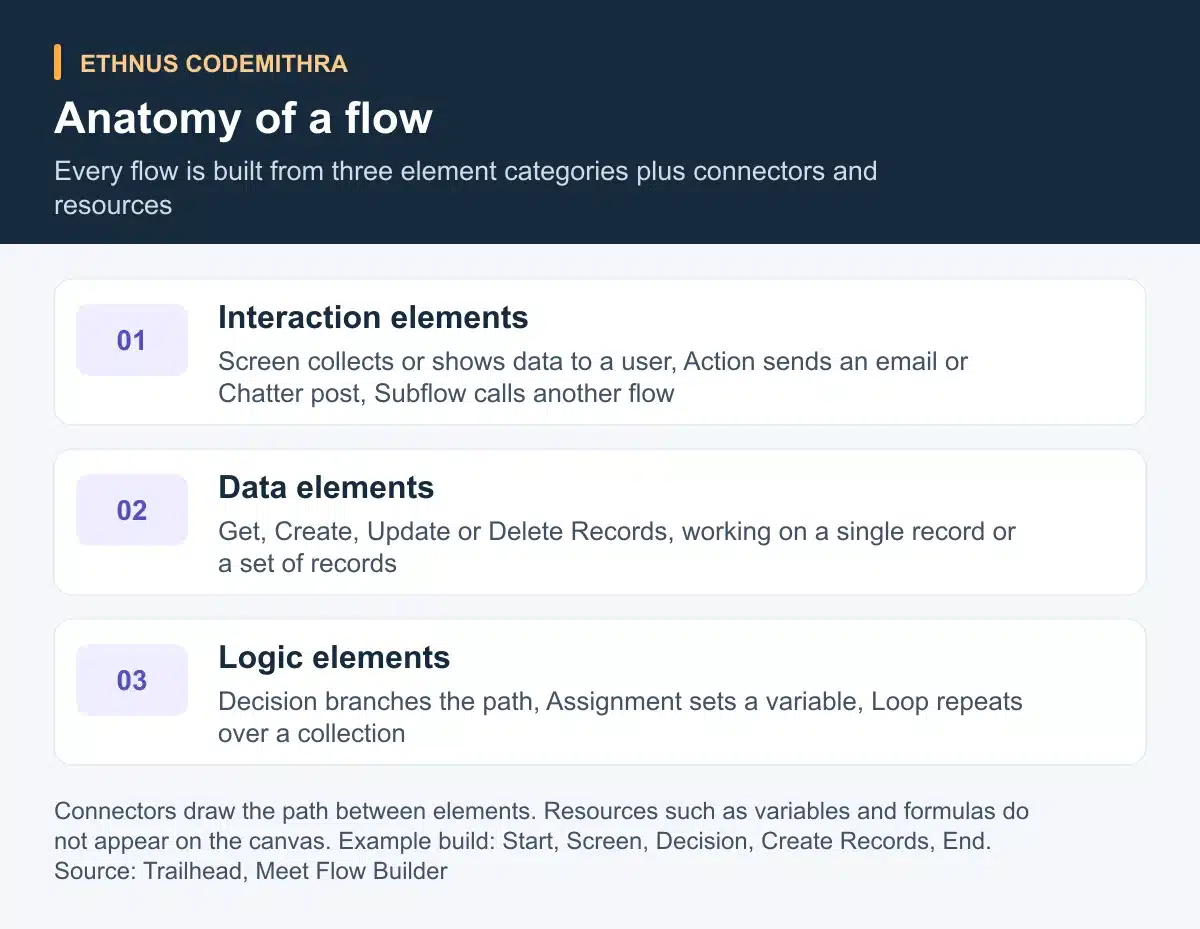
Every flow is built from the same three categories of element, plus connectors and resources. Interaction elements show or collect data. A Screen displays fields to a user. An Action sends an email or posts to Chatter. A Subflow calls another flow.
Data elements read or write records, using Get, Create, Update and Delete Records. Each works on one record or a set of them.
Logic elements control the path. A Decision branches it. An Assignment sets a variable. A Loop repeats over a collection of records (Trailhead, Meet Flow Builder).
Connectors are the lines between elements. They define the path the flow takes as it runs. Resources, such as variables and formulas, are containers you reference from elements. They do not appear on the canvas as boxes, the way elements do (Trailhead, Meet Flow Builder). If something is not on the canvas, it is probably a resource, not a missing step.
Pick your flow type
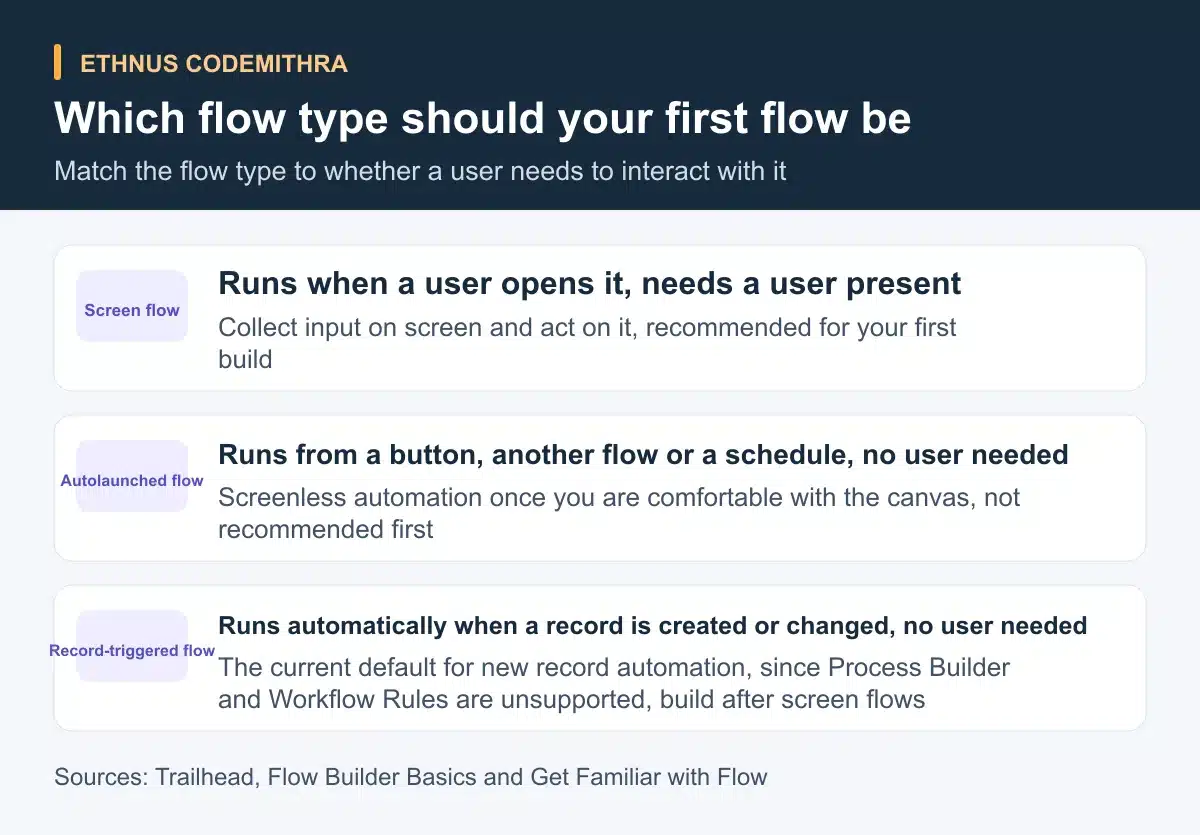
Before you open Flow Builder, decide which flow type fits the job. A screen flow runs when a user opens it. It needs a person present to fill in fields and click through it.
An autolaunched flow is screenless. It runs from a button, another flow or a schedule, with no user watching it run. A record-triggered flow runs automatically when a record is created or changed. It also needs no user present (Trailhead, Flow Builder Basics).
For a first build, choose a screen flow. You see every field you enter. You watch each element run in sequence, and check the result on screen. Do this before working with anything screenless. Once the canvas feels familiar, autolaunched and record-triggered flows are the next step.
Step-by-step: build a screen flow that logs a follow-up task
The exercise below is an original walkthrough written for this article. It is not a reproduction of a Trailhead module. Flow Builder Basics on Trailhead covers the same concepts. It does not include a guided build like this one (Trailhead). Try it in a sandbox or developer org before you run it against real records.
- From Setup, open Flow Builder and select New Flow. Choose Screen Flow as the flow type.
- Add a Screen element. On the screen, add two text fields: the follow-up subject and who owns the follow-up.
- Add a Decision element after the screen. Create one path for "Subject provided" and a default path for a blank subject field.
- Add a Create Records element on each path. Set it to create a Task record, using the screen inputs or your default values.
- Save the flow with a clear name, such as "Log a follow-up task".
- Run the flow from Flow Builder before you activate it. Enter both a filled-in and a blank subject to check each path.
- Once the run confirms both paths behave as expected, activate the flow.
This gives you one small, complete automation. A user fills in two fields, a decision checks them, and a record gets created. Every later flow you build follows the same shape of elements and connectors.
Add one formula resource
Resources let a flow react to a condition without an extra Decision element for every case. A common pattern uses the ISBLANK function. It checks whether a field or variable has no value. It returns true if the field is empty (Salesforce Help, ISBLANK function).
Apply this to the exercise above. Add a text-formula resource that falls back to a default subject when the screen field is left empty:
IF(
  ISBLANK({!FollowUpSubjectInput}),
  {!DefaultFollowUpSubject},
  {!FollowUpSubjectInput}
)
This snippet adapts the documented ISBLANK pattern to this article's own field names. Type it into a new Formula resource.
Reference that resource's output in the Create Records element, instead of the raw screen field. Treat it as an example to adapt, not an official Salesforce sample.
Test before you activate
Flow Builder lets you run a flow from the builder itself, before it is activated. Use that run, or the debug view it opens, to step through each element. Check the value a variable or resource holds at each point. Testing before activation catches a missing field mapping or a wrong Decision path early. At that stage the flow only affects your own test run, not live records.
Where to go from here
One screen flow covers the basics: elements, connectors and one resource. Salesforce's "Build Flows with Flow Builder" trail extends this into eight modules. It covers data and actions in flows, flow logic, and record-triggered flows.
It also covers autolaunched flows, screen flows in depth, multirecord elements and loops. It runs at an intermediate level, for around twelve and a half hours in total (Trailhead). Work through it before you move on to Apex. Several of its modules cover patterns, such as loops over a collection, that Apex code later replaces or calls into.
Common beginner mistakes
- Building a record-triggered flow first, before a screen flow makes the element categories and connectors familiar.
- Skipping the debug or test run, and activating a flow straight after saving it.
- Assuming a flow must be activated before you can run it. Flow Builder lets you run it directly from the canvas.
- Leaving unused resources in a flow, instead of checking each variable's value during a test run.
The Ethnus connection
Codemithra's Salesforce Developer course lists Salesforce Flow as a named topic in its Developer Beginner section. It sits alongside platform development, data modelling, data management, data security, and formulas and validations. In the course's own sequencing, Flow comes ahead of Apex fundamentals (Codemithra, Salesforce Developer course). That order matches this article's approach: build comfort with Flow Builder's canvas before starting Apex. The course adds trainer-led sessions and lab access around that syllabus. It suits students who want a guided path through Flow and into Apex, rather than a self-serve one.
Frequently asked questions
Do I need to know Apex before I can use Flow Builder?
No. Flow Builder is a point-and-click tool. Salesforce describes it as removing the need to be a developer for many automations (Trailhead, Get familiar with flow). Apex becomes useful once a flow's logic outgrows what elements and formulas handle well.
Will my existing Process Builder automations stop working?
No. Salesforce ended support for Workflow Rules and Process Builder on 31 December 2025, but existing automations keep running. Salesforce no longer fixes bugs in them. It recommends migrating new work to Flow Builder (Salesforce Help).
Which flow type should I build first?
A screen flow. It needs a user present, so you watch each element run and check the result. Do this before working with screenless automation, such as autolaunched or record-triggered flows (Trailhead, Flow Builder Basics).
Can I test a flow without activating it?
Yes. Flow Builder lets you run a flow directly from the builder before activation. Use that run to check field mappings and Decision paths.
Where do I learn record-triggered flows next?
Salesforce's "Build Flows with Flow Builder" trail has eight modules. It covers record-triggered flows, autolaunched and scheduled flows, loops and multirecord elements (Trailhead). Codemithra's Salesforce Developer course covers Flow before moving into Apex fundamentals.